Disclosure: This post contains affiliate links. If you make a purchase, I may earn commission. Opinions shared are mine.
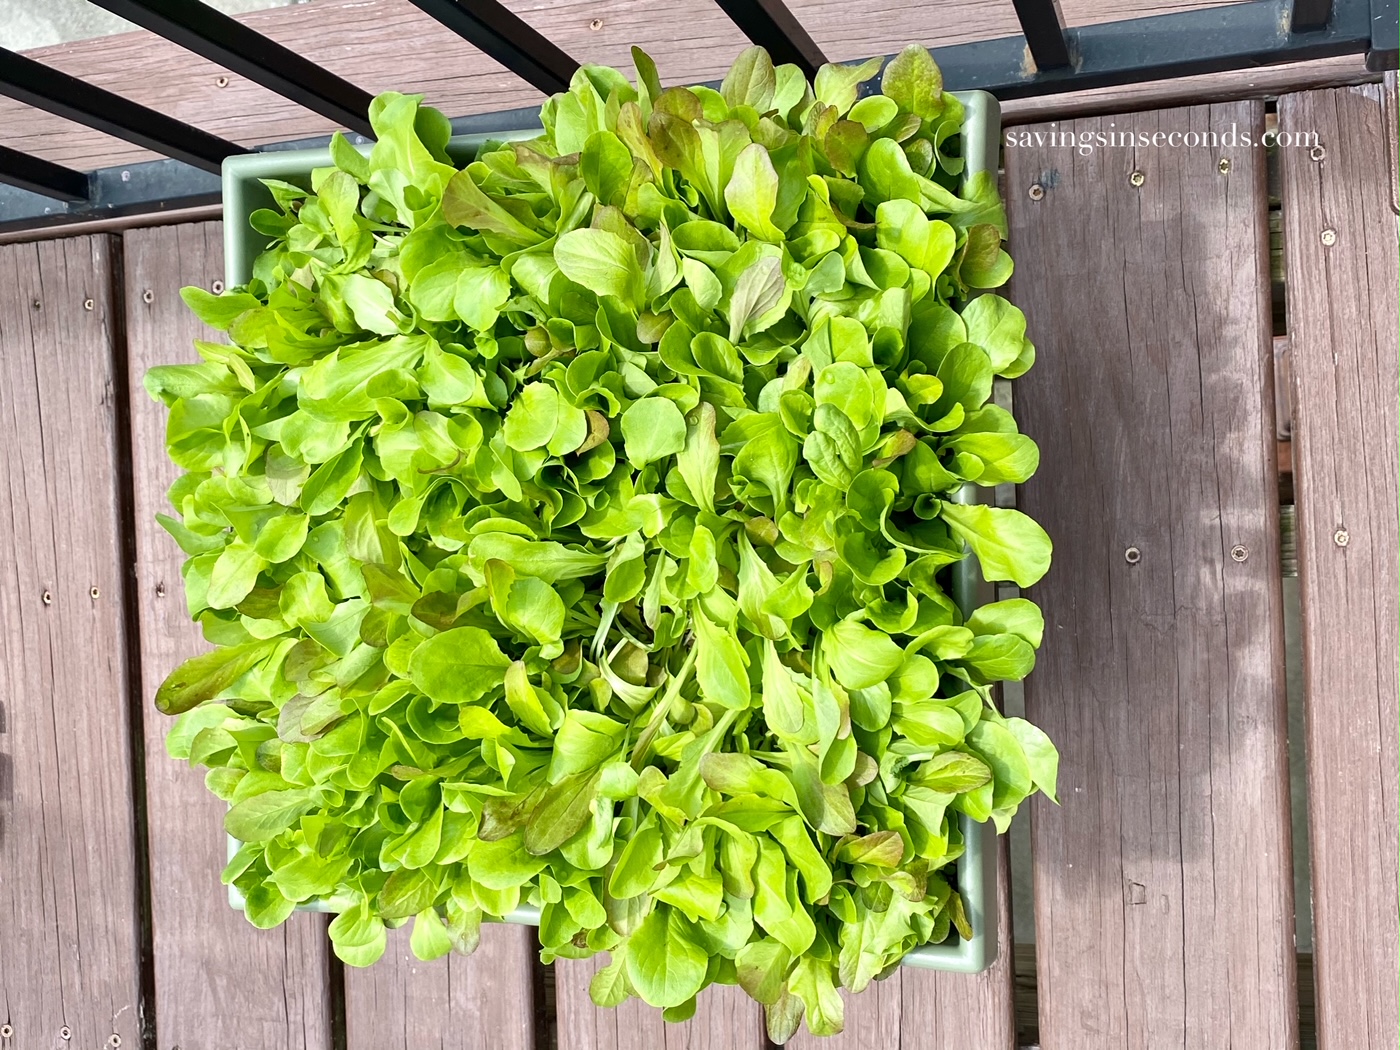
Now that school is out, I spend most of my free moments outside. My garden is pretty small compared to most, but I find ways to tuck plants in every nook and cranny. My deck and patio are also filled with plants. Though I enjoy flowers, growing vegetables is my passion. It is so rewarding to go outside and pick FOOD for my family. I just love it! Today my daughter and I had lunch from one of the deck’s lettuce planters. Remember my post from last week where I showed you the pot that was newly planted? (You can find the post here.) It was ready to harvest today. We didn’t even make a dent in it.

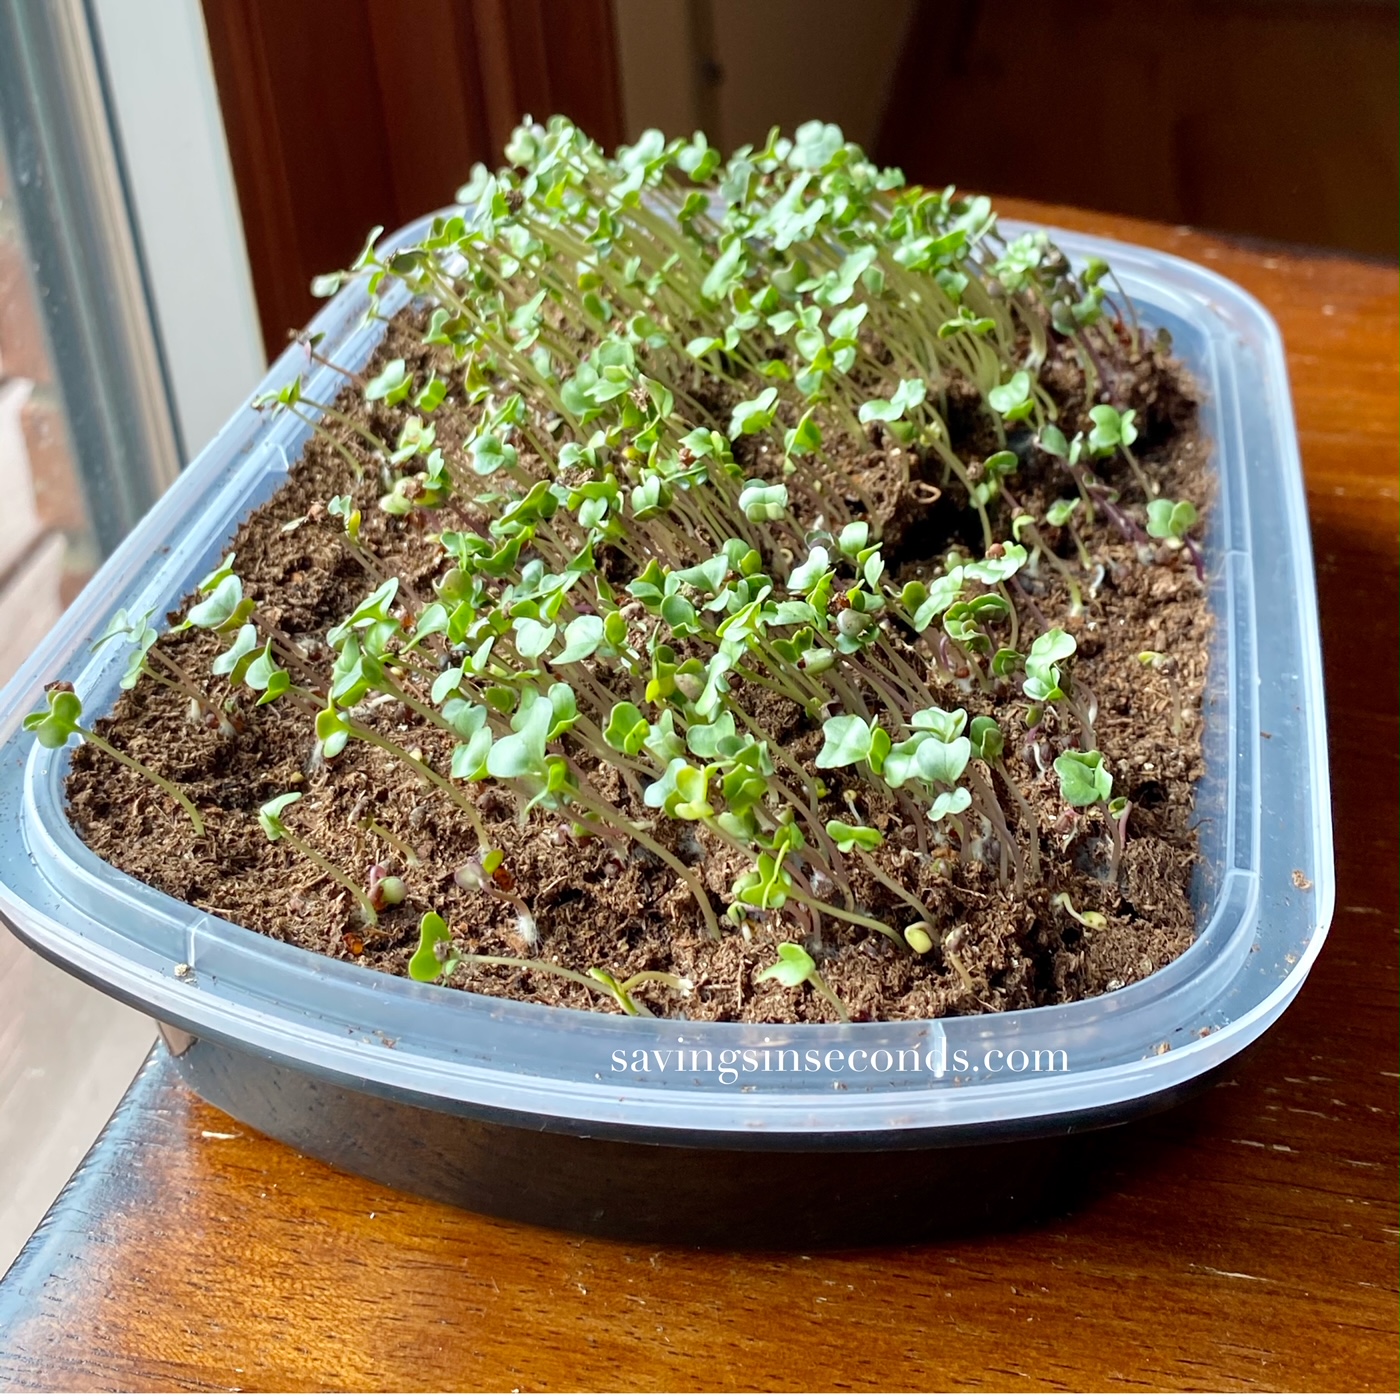
I’ve also been growing microgreens to use up some of the seeds I have leftover. Full-size radishes are not my favorite (I grew them a couple of times just for the greens) but the microgreens are delish on a salad or with scrambled eggs. I’ve also grown broccoli, sunflower, and kale microcreens. The ones shown in the photo below are my current planting of Brussels sprouts. It takes just a few days — less than 2 weeks — to grow and harvest microgreens, and you need no special equipment. I have been using washed takeout containers. If you want to know how to do it, I suggest watching some of the videos on Keep On Growin’ with Mike VanDuzee. He explains it so well, and uses everyday items!
If I can grow things, anyone can. If you like salad and fresh greens, give it a try. I have been using pots that were sitting around my garage, and a packet of lettuce runs around $2 for thousands of seeds. Some of my pots already had soil in them; I just topped them off with a bit of fresh potting mix. It’s not a huge investment. You might be really surprised at how much you enjoy it!
Now, to my main topic — worm composting. Last summer during the Covid lockdown, I decided it was the right time to learn how to keep a worm composting bin. I used an old plastic tub that was sitting in my garage and just ordered some worms from Uncle Jim’s Worm Farm via Amazon. I watched a few videos about it to figure out how to set things up. It went really well, and I was able to keep the worms alive even through our move and despite my general neglect, they made it to spring. They are surprisingly resilient little creatures. I’ve harvested lots and lots of worm castings for my garden. Such a huge savings (worm poop is crazy expensive) but even better, it’s like garden magic! So I was interested to see how worm composting in the Garden Tower 2 would compare to my bin.
Yesterday I took a break from planting things and decided to harvest some worm castings instead. I did not think to take photos until it was too late; I will be sure to get some pictures next time. Still, here are my observations.
My worm bin was largely neglected over the winter. I think I added food scraps twice; they probably lived off the bedding that was still in the bin. The last time I harvested castings was in the late fall. Yesterday the worms were very lethargic and the population had definitely dropped. There were plenty of cocoons, so the population will pick back up soon. To get the castings, I sifted small amounts out with an old colander (purchased at an estate sale for 50 cents). Despite the small amount of food and the lack of attention, the worms gave me about 3 gallons of castings. It was drier than ideal, and some was in large clumps. I fished the worms out of it pretty easily because the castings were so dry. After replacing their bedding and putting them back in the bin, I rewarded them with some worm candy aka watermelon rind. Hopefully that will help them perk up and get ready for summer! Keeping a worm bin isn’t hard, but it does require a little bit of attention. The food scraps have to be well-covered to avoid getting pests, and you have to monitor the moisture and pH in the bin. Obviously I’ve been slacking off, and the worms paid for my neglect. I promised them I’d be a better worm mama!
Then I headed over to the Garden Tower 2. I put the worms in the composting tube around March 25. They’ve been getting lots of food scraps and plenty of garden waste, as well as some dried leaves, over the past few weeks. In comparison to my composting bin, the worms in the Garden Tower were thriving. They were longer and clearly healthy. There were lots of baby worms and many cocoons. I was surprised at how great they looked, considering they’ve only been in there for a short time!
It was harder to harvest the compost from the Tower tube. I watched the video that explained how to break up the roots, and it was hard to get these broken down. Even though I’d just added a ton of waste in the tube just a couple of days ago, it had already moved far down the tube (too far for me to reach). The compost I got from the tube was very rich and moist. I only got about a half-gallon of castings, but also didn’t expect much since it has only been a little over a month. I also think some of the castings were probably distributed throughout the tower plantings, which is the beauty of the Garden Tower — this is just what would happen in nature. It was harder to sift through the tube contents because much of the food was not digested yet. In the bin, it’s easy to feed the worms on just one side of the bin (so you can avoid filtering through all of it) but it all gets mixed up in the composting tube.
So, here’s the bottom line based on my experience. The Garden Tower makes it super easy to generate worm castings. You might not get a high volume, but there’s almost no work involved. You do have to get the castings out once a month or so. If quantity is what you’re after, you will probably want to do a bin. You’re not limited in size with a bin, and you can have multiple bins going if you can keep up with them. The cost of having multiple Garden Towers is quite prohibitive (for me, at least.) Either way, worm castings are black gold for your garden so consider giving worm composting a try!


Oh, how informative. I have thought about having a worm bin but never did it. We just toss the scraps in the compost pile in the back corner of the yard. I might try this in the winter when no one wants to walk outside to the compost pile.
Jeannie@GetMeToTheCountry
Salad greens are so easy to grow and taste so wonderful.